The world of modern web development is ever changing. As web apps continue to grow in scope and complexity, developers are continually searching for more powerful tools to help tame that complexity into something comprehensible and maintainable. Over the past several years, one of the pillars of modern web development has consistently been under attack, Javascript.
There has been a long history of projects attempting to fix and even replace Javascript. From CoffeeScript, to TypeScript, to Dart and Go, many players have entered this space, some carving out a niche, but none supplanting the king.
A relatively new contender in this space (at least new to me) is a project called Bridge.NET. Bridge promises to offer all the power of C#, compiled (transpiled?) to Javascript that can run in the browser. At work, we are currently in the process of retiring a Silverlight app that is on life support, so Bridge.NET was a very intriguing option for us. The idea that we could port over chunks of our existing view models with minimal changes was too tempting to pass up.
We decided to give Bridge a go, and after being impressed initially by some proof of concepts, we found ourselves tugging at some of the seams between the C# world Bridge has constructed and the Javascript world lurking underneath.
The getting started docs for Bridge are not a bad start, but they leave a lot to be desired when you start really digging in. We found ourselves in a situation where we needed to tweak some of the output from the Bridge compiler to help with integrating some non-Bridge code. Trolling through the Bridge forums, I stumbled across a post that suggested that it was possible to write plugins for Bridge to do the kind of thing we needed, but for the life of me, I could find no information on how to do it.
I was determined though, and stubborn. After a fair amount of time trudging through source code and decompiled DLLs, I was finally able to get something working. So without further ado, I will share my findings in the hope that someone else may find it useful.
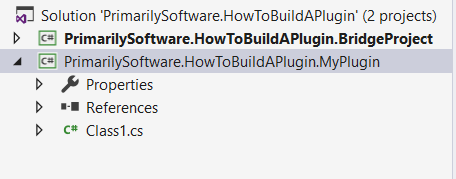
If you have made it this far, I assume you already have a Bridge project setup, so I will skip those details. You will want to add a new class library to your solution that will be the home for your plugin.
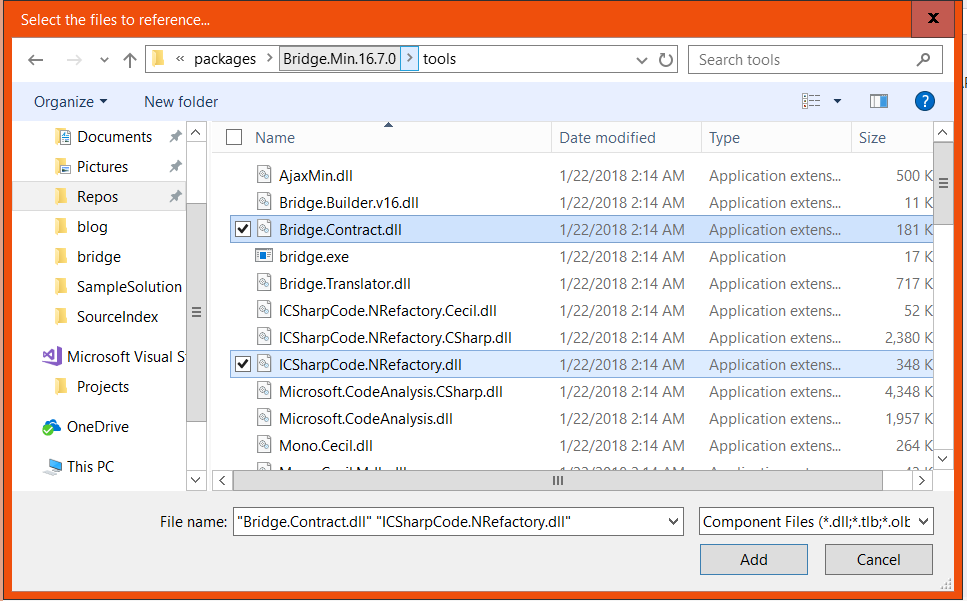
As far as I can tell, there isn’t a Nuget package, or anything of the sort designed for building Bridge plugins. Instead, we will do something a little dirty. We need to reference the Bridge.Contract.dll. You can find it included in one of the packages that was installed for your Bridge application project. So for your plugin project, click add reference, and browse to the packages\Bridge.Min.16.7.0\tools folder for your solution. Add Bridge.Contract.dll and while you are at it, go ahead and add ICSharpCode.NRefactory.dll.
Now we can start working on our plugin. Add a new class to your plugin project, inheriting from AbstractPlugin.
using Bridge.Contract;
using System.ComponentModel.Composition;

namespace PrimarySoftware.HowToBuildAPlugin.MyPlugin
{
    [Export(typeof(IPlugin))]
    public class MyPlugin : AbstractPlugin
    {

    }
}
The other crucial piece of information is the Export attribute. Bridge uses MEF for plugins. This attribute signals to Bridge, through MEF, that we have a plugin that we want it to use when transpiling our code. Also, take care that you are using the correct ExportAttribute. We want the one from System.ComponentModel.Composition. There is also a version defined in System.Composition.AttributedModel, but that one will not work with Bridge. I spent a lot of time spinning my wheels when trying to get my first plugin to work because I was using the wrong ExportAttribute. Learn from my mistakes.
So at this point, we have a plugin that does absolutely nothing. Bridge gives us quite a few hooks to get involved in the transpilation process. All we need to do is override one of the virtual methods AbstractPlugin exposes.
public abstract class AbstractPlugin : IPlugin
{
    protected AbstractPlugin();

    public virtual ILogger Logger { get; set; }

    public virtual void AfterEmit(IEmitter emitter, ITranslator translator);
    public virtual void AfterOutput(ITranslator translator, string outputPath, bool nocore);
    public virtual void AfterTypeEmit(IEmitter emitter, ITypeInfo type);
    public virtual void AfterTypesEmit(IEmitter emitter, IList<ITypeInfo> types);
    public virtual void BeforeEmit(IEmitter emitter, ITranslator translator);
    public virtual void BeforeTypeEmit(IEmitter emitter, ITypeInfo type);
    public virtual void BeforeTypesEmit(IEmitter emitter, IList<ITypeInfo> types);
    public virtual IEnumerable<string> GetConstructorInjectors(IConstructorBlock constructorBlock);
    public virtual bool HasConstructorInjectors(IConstructorBlock constructorBlock);
    public virtual void OnConfigRead(IAssemblyInfo config);
    public virtual void OnInvocation(IInvocationInterceptor interceptor);
    public virtual void OnReference(IReferenceInterceptor interceptor);
}
Again, not much documentation going on for any of this, but you can make some pretty good guesses about what these methods are for by their names. One thing I found incredibly helpful when toying around with my plugin was launching a debugger so that I could inspect the parameters coming in and get a better idea for what I can and cannot change.
public override void BeforeTypesEmit(IEmitter emitter, IList<ITypeInfo> types)
{
    if (Debugger.IsAttached == false) Debugger.Launch();

    ...
}
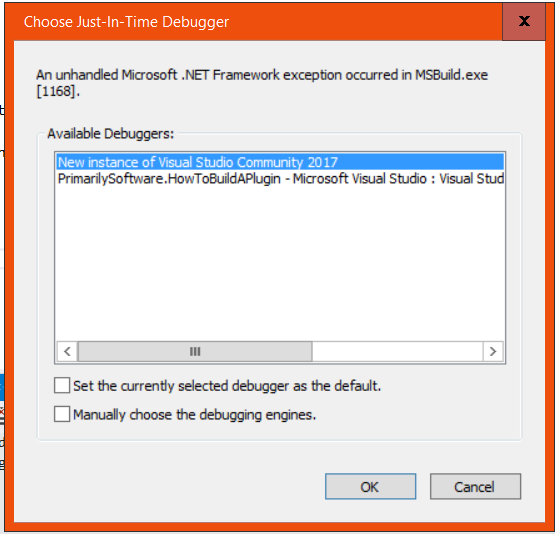
With this little bit of code, when Bridge gets around to calling our plugin, it should pop up a dialog so that we can attach a debugger and start digging around.
There is one last thing to get our plugin plugged in. By default, Bridge is looking for plugins in the Bridge/plugins directory of our bridge project. This is configurable though. Lets change this config in our bridge.json to point to the output directory of our plugin project.
{
    "pluginsPath": "../PrimarySoftware.HowToBuildAPlugin.MyPlugin/bin/Debug"
}
If you build your solution now, you should see the following dialog pop up.
And that is all there is too it. Hopefully this post is enough to help others get started with Bridge plugins.